
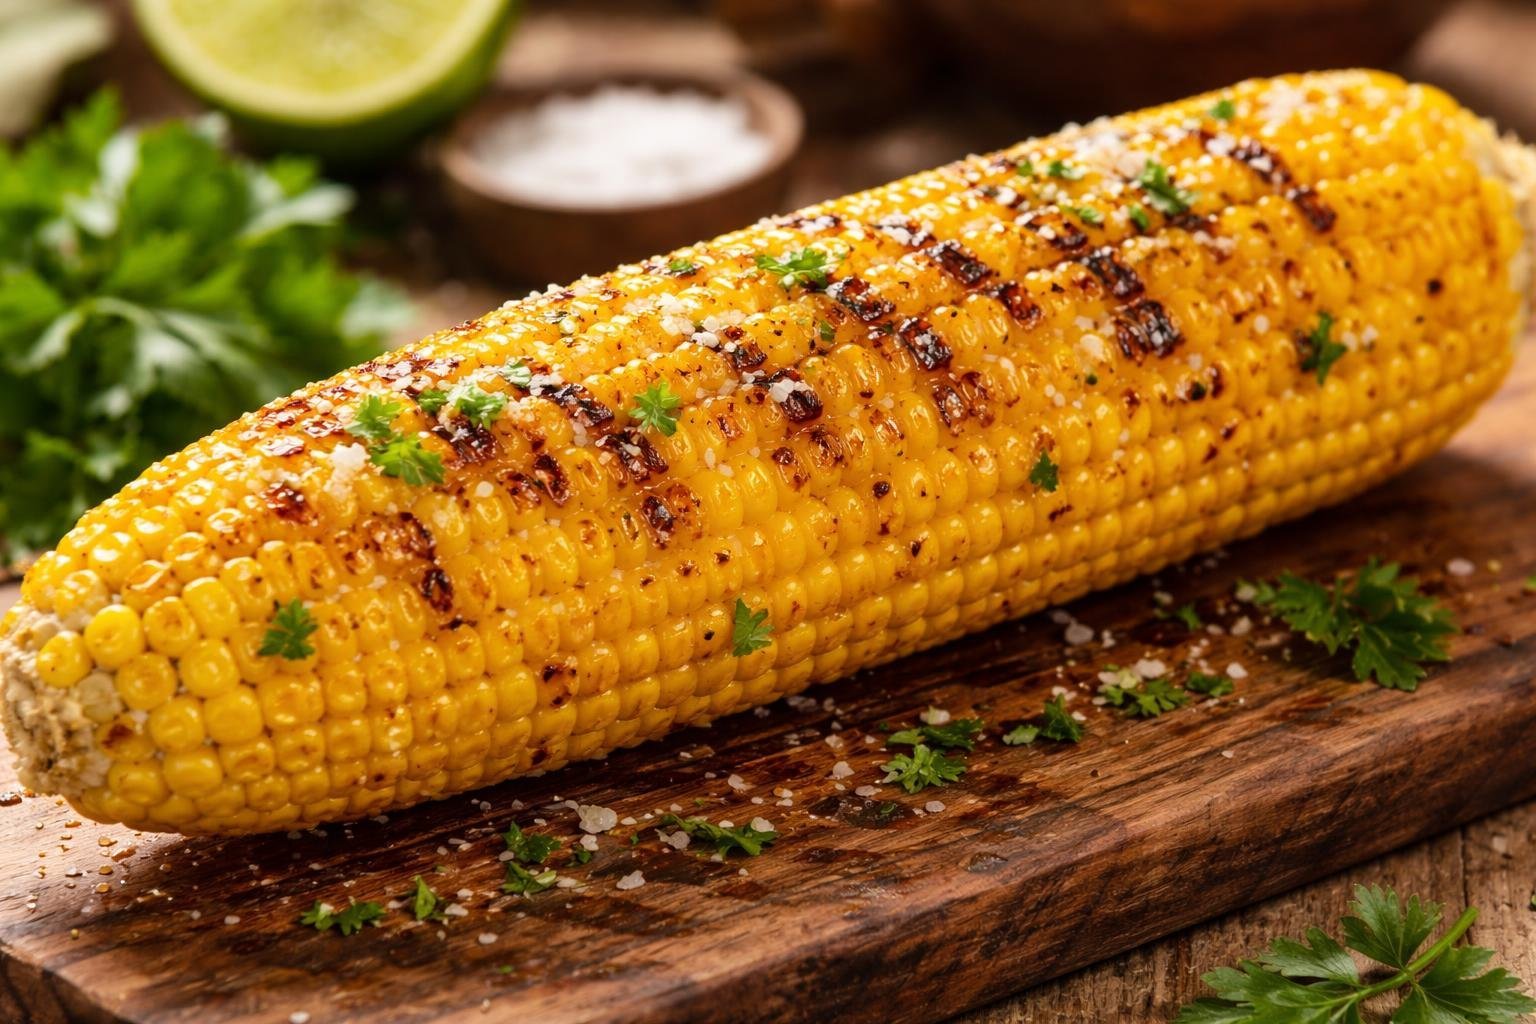
Try this Grilled Corn On The Cob Recipe. It is the best way to enjoy a golden maize ear that features tender kernels and a perfectly charred finish.
Everyone loves a juicy, hand-held treat that is slathered in melted butter and simple seasonings.
This Grilled Corn On The Cob Recipe is very easy. You do not need to be a professional pitmaster to get it right.
Follow these simple steps for a perfect smoky tray today. Learning how to make Grilled Corn On The Cob is fun.
Your family will love the toasted sugar and salty butter flavor. The texture is crunchy, bursting with juice, and very satisfying.
This Grilled Corn On The Cob Recipe uses fresh items from your local farm stand. It is truly a foolproof side dish for everyone.
Grilled Corn On The Cob Recipe Intro
I love watching home cooks transform simple ears of corn into a smoky masterpiece over a roaring fire.
They make the most delicious and rustic dishes that bring out the natural sweetness of the summer harvest.
One afternoon, I saw a chef peel back the husks of bright yellow corn and place them directly over white-hot coals.
It looked so traditional and smelled amazing with the aroma of caramelized sugar and wood smoke.
I wanted to try it for a festive family holiday gathering. My first try was a huge success.
My friends loved the deep char and asked for the secret to the juicy interior immediately.
Now, I make it for every celebratory Sunday afternoon. The smell of roasting corn makes my house feel like a summer fair.
You will love how bold it tastes. It is the best vegetable for a hungry crowd.
Equipment List
- An outdoor grill (charcoal or gas).
- A large bowl of cold water (for soaking).
- A pair of long-handled tongs.
- Measuring cups and spoons.
- A pastry brush for the butter.
Ingredients You Need for Grilled Corn On The Cob
Here are the ingredients for Grilled Corn On The Cob:
- 6 ears of fresh sweet corn, husks kept on.
- 1/2 cup (1 stick) of unsalted butter, softened.
- 1/2 teaspoon of sea salt.
- 1/4 teaspoon of black pepper.
- 1/2 teaspoon of smoked paprika.
- 1/4 cup of fresh parsley, chopped.
- 1 lime, cut into wedges (for serving).
Step-by-Step Guide
1. Soak the Corn
Place the whole ears of corn (with husks) in a large bowl of cold water. Let them soak for at least 20 minutes to prevent the husks from burning too fast.
2. Heat the Grill
Preheat your grill to medium-high heat (about 200°C). Make sure the grates are clean.
3. Grill in the Husk
Place the soaked corn directly on the grill. Close the lid and grill for 15 to 20 minutes, turning every 5 minutes until the husks are charred.
4. Peel the Husks
Carefully remove the corn from the grill using tongs. Peel back the husks and remove the silk (wear oven mitts as they will be very hot).
5. Char the Kernels
Place the naked corn back on the grill for 2 to 3 minutes, turning quickly until the yellow kernels get light brown char marks.
6. Make the Butter
In a small bowl, mix the softened butter, salt, pepper, smoked paprika, and chopped parsley.
7. Butter the Ears
Use a brush or a knife to coat each hot ear of corn generously with the seasoned butter mixture.
8. Serve with Lime
Serve the corn immediately with fresh lime wedges on the side. The citrus juice makes the sweet corn flavor pop.
Tips to Make the Best Grilled Corn On The Cob
- Don’t skip the soak. Soaking the husks creates steam inside the ear, which makes the kernels incredibly juicy and prevents a fire on your grill.
- Remove the silk. Pulling the silk off after the first stage of grilling is much easier than trying to do it while the corn is raw.
- Use fresh corn. Look for husks that are bright green and moist; if the husk is dry or yellow, the corn inside will likely be starchy.
- Add a spice. If you like heat, add a pinch of cayenne pepper or chili powder to your butter for a “Mexican Street Corn” style.
- Watch for “Pop”. You will know the corn is getting perfect when you hear a few kernels make a light popping sound on the grill.
- Leave the handle. When peeling back the husks, tie them together at the bottom with a piece of string to create a natural “handle” for eating.
FAQs about Grilled Corn On The Cob
Can I grill without husks?
Yes, but you must watch it very closely and keep the heat a bit lower so the kernels don’t dry out before they get soft.
How do I store leftovers?
Cut the kernels off the cob and keep them in a closed container in the fridge for up to four days. They are great in salsas!
Is it healthy?
Yes, corn is a good source of fiber and antioxidants, though the butter adds extra calories.
Why is my corn tough?
It may be overcooked or the corn was not fresh. Sweet corn is best when eaten within a few days of being picked.
Can I use frozen corn?
It is difficult to grill frozen cobs; it is much better to use fresh, seasonal ears for this specific recipe.
Final Thoughts
This Grilled Corn On The Cob Recipe is a winner. It is savory, sweet, and very easy to make.
You now know how to make Grilled Corn On The Cob at home. It is the perfect meal for a holiday side or a simple weeknight treat.
Your family will love this special Southern classic. The combination of butter and smoke is perfect.
Making your own grilled vegetables is a great way to eat fresh. Just follow the steps and enjoy your meal.
Happy eating to you and your sweet family!
Grilled Corn On The Cob Recipe
Ingredients
- 6 ears of fresh sweet corn husks kept on.
- 1/2 cup 1 stick of unsalted butter, softened.
- 1/2 teaspoon of sea salt.
- 1/4 teaspoon of black pepper.
- 1/2 teaspoon of smoked paprika.
- 1/4 cup of fresh parsley chopped.
- 1 lime cut into wedges (for serving).
Instructions
Soak the Corn
- Place the whole ears of corn (with husks) in a large bowl of cold water. Let them soak for at least 20 minutes to prevent the husks from burning too fast.
Heat the Grill
- Preheat your grill to medium-high heat (about 200°C). Make sure the grates are clean.
Grill in the Husk
- Place the soaked corn directly on the grill. Close the lid and grill for 15 to 20 minutes, turning every 5 minutes until the husks are charred.
Peel the Husks
- Carefully remove the corn from the grill using tongs. Peel back the husks and remove the silk (wear oven mitts as they will be very hot).
Char the Kernels
- Place the naked corn back on the grill for 2 to 3 minutes, turning quickly until the yellow kernels get light brown char marks.
Make the Butter
- In a small bowl, mix the softened butter, salt, pepper, smoked paprika, and chopped parsley.
Butter the Ears
- Use a brush or a knife to coat each hot ear of corn generously with the seasoned butter mixture.
Serve with Lime
- Serve the corn immediately with fresh lime wedges on the side. The citrus juice makes the sweet corn flavor pop.
Notes
- Don’t skip the soak. Soaking the husks creates steam inside the ear, which makes the kernels incredibly juicy and prevents a fire on your grill.
- Remove the silk. Pulling the silk off after the first stage of grilling is much easier than trying to do it while the corn is raw.
- Use fresh corn. Look for husks that are bright green and moist; if the husk is dry or yellow, the corn inside will likely be starchy.
- Add a spice. If you like heat, add a pinch of cayenne pepper or chili powder to your butter for a “Mexican Street Corn” style.
- Watch for “Pop”. You will know the corn is getting perfect when you hear a few kernels make a light popping sound on the grill.
- Leave the handle. When peeling back the husks, tie them together at the bottom with a piece of string to create a natural “handle” for eating.

