
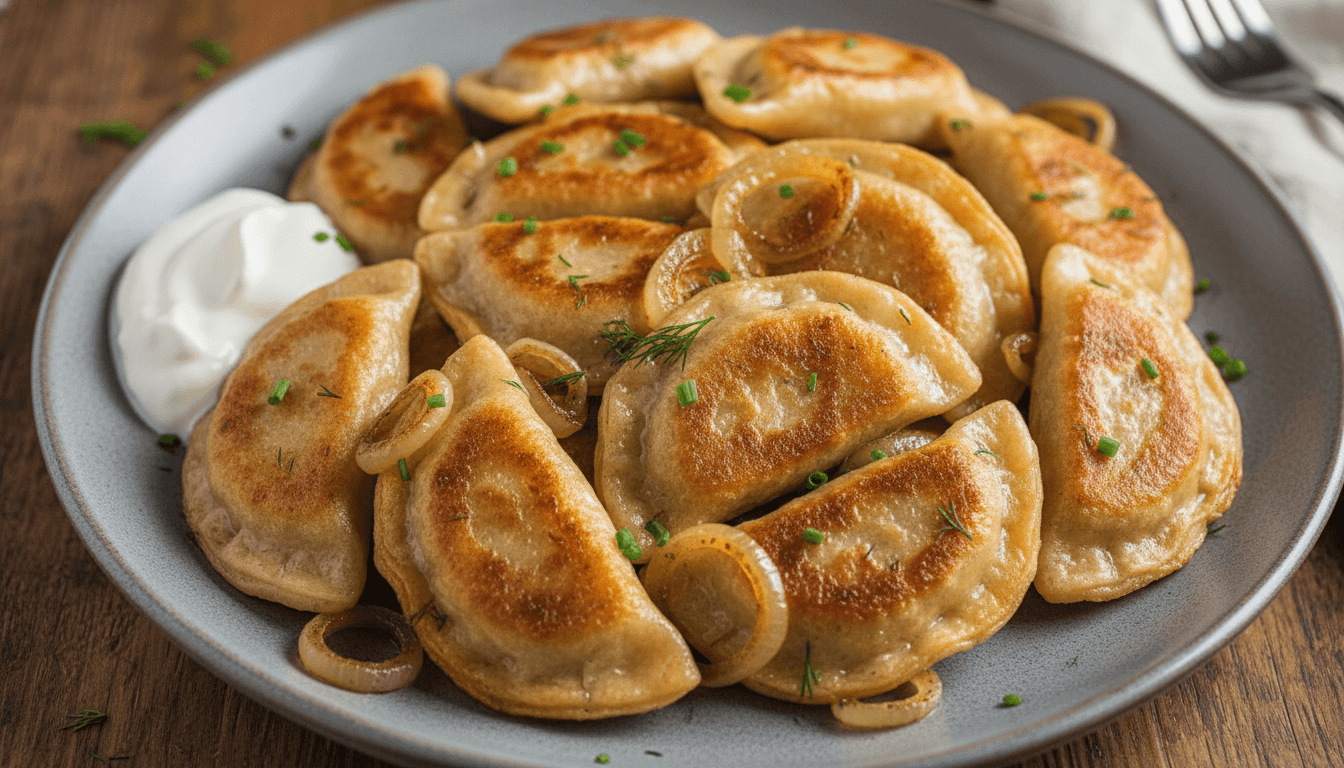
Making gluten free perogies at home is easier than you think! This Gluten Free Perogies Recipe creates soft, tender dumplings filled with creamy potato.
You don’t need fancy ingredients or skills. Whether you have celiac disease or just avoid gluten, this recipe works perfectly.
These homemade perogies taste better than store-bought ones. The gluten free dough holds together beautifully. You can freeze extras for busy weeknights.
Learning how to make Gluten Free Perogies opens up a world of delicious possibilities. Your family will love these comforting dumplings. Let’s get cooking!
When I First Introduced to Gluten Free Perogies
I discovered perogies at a friend’s house years ago. They served traditional wheat-based perogies with sour cream.
The taste was amazing, but my stomach hurt afterward. I have celiac disease, so gluten makes me sick. I felt sad missing out on this comfort food.
Then I decided to create my own version. After many kitchen experiments, I perfected this gluten free recipe.
Now I make them every month for my family. My kids request them constantly! These perogies changed how I think about gluten free cooking.

Equipment List
- Large mixing bowl
- Rolling pin
- Round cookie cutter (3-inch works great)
- Large pot
- Slotted spoon
- Frying pan
- Clean kitchen towel
- Fork
Ingredients You Need for Gluten Free Perogies
- 2 cups gluten free flour blend
- 1 teaspoon xanthan gum (if not in flour)
- 1 teaspoon salt
- 1 large egg
- 1/2 cup sour cream
- 1/4 cup warm water
- 2 tablespoons butter, melted
- 3 large potatoes, peeled and cubed
- 1/2 cup shredded cheddar cheese
- 3 tablespoons butter
- Salt and pepper to taste
- Butter for frying
- Sour cream
- Chopped green onions
Step-by-Step Guide
- Boil potatoes in salted water until soft.
- This takes about 15 minutes.
- Drain the water completely.
- Mash potatoes until smooth and creamy.
- Add butter, cheese, salt, and pepper.
- Mix everything together well.
- Let the filling cool while making dough.
- Cool filling is easier to work with.
- Mix flour, xanthan gum, and salt together.
- Create a well in the center.
- Add egg, sour cream, and melted butter.
- Stir with a fork first.
- Add warm water slowly while mixing.
- Knead the dough gently for 2 minutes.
- The dough should feel soft but not sticky.
- Let it rest for 10 minutes covered.
- Dust your surface with gluten free flour.
- Roll dough to 1/8 inch thickness.
- Use your cookie cutter to make circles.
- You should get about 24 circles.
- Gather scraps and re-roll them carefully.
- Don’t overwork the dough or it gets tough.
- Place one tablespoon of filling in each circle.
- Don’t overfill or they will burst.
- Fold the circle in half carefully.
- Press edges together with your fingers.
- Use a fork to seal edges firmly.
- Make sure there are no gaps anywhere.
- Bring a large pot of salted water to boil.
- Add 6-8 perogies at a time.
- Don’t crowd the pot too much.
- They will sink first, then float up.
- Cook for 2 minutes after they float.
- Remove with a slotted spoon carefully.
- Place them on a clean towel.
- Heat butter in a frying pan.
- Add boiled perogies in a single layer.
- Fry for 2-3 minutes per side.
- They should turn golden and crispy.
- This step adds amazing flavor and texture.
- Serve immediately while hot and crispy.
Tips to Make the Best Gluten Free Perogies
- Use a good quality gluten free flour blend.
- I recommend ones with xanthan gum already added.
- Don’t skip the resting time for dough.
- This helps the dough become easier to roll.
- Keep the filling mixture fairly dry.
- Wet filling makes perogies soggy and hard to seal.
- Seal edges very well to prevent bursting.
- Test one perogy first before cooking them all.
- Freeze uncooked perogies on a baking sheet first.
- Then transfer to freezer bags for storage.
- They last up to 3 months frozen.
- Cook frozen perogies without thawing them first.
- Just add 1-2 extra minutes cooking time.
FAQs about Gluten Free Perogies
Q: Can I make these dairy-free too?
A: Yes, you can substitute ingredients easily. Use dairy-free butter and skip the cheese completely.
Q: Why did my dough fall apart?
A: The dough might be too dry overall. Add one tablespoon of water at a time.
Q: Can I bake perogies instead of frying?
A: Absolutely! Brush with oil and bake at 375°F. They take about 20 minutes until golden brown.
Q: How do I store leftover cooked perogies?
A: Keep them in an airtight container refrigerated. They stay fresh for up to 3 days.
Q: What other fillings can I use?
A: Try sauerkraut, mushrooms, or ground meat. Sweet fillings like fruit also work wonderfully.
Final Thoughts
This Gluten Free Perogies Recipe brings comfort food back to your table. You now know how to make Gluten Free Perogies from scratch.
The ingredients for Gluten Free Perogies are simple and affordable. Making them takes practice, but it’s worth it. Your first batch might not look perfect.
That’s completely okay and totally normal! The taste will still be absolutely delicious. Share these perogies with family and friends.
They might not even notice they’re gluten free. Enjoy every bite of your homemade creation!
More Amazing Recipes
- 15 Mouthwatering Slider Recipes
- 14+ Dutch Oven Camping Recipes
- 14+ Budget Friendly Chicken Dinner Recipes
- 14 Healthy Winter Ground Beef Recipes
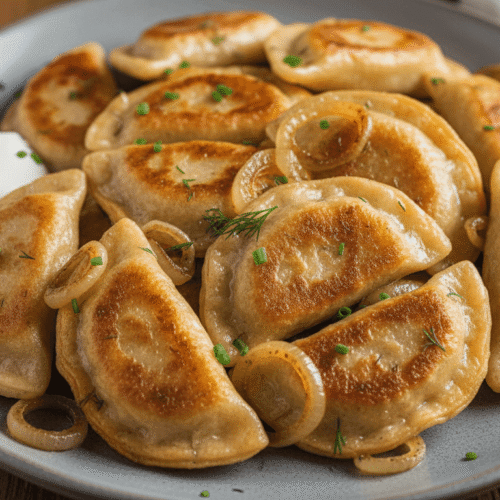
Gluten Free Perogies Recipe
Equipment
- Large Mixing Bowl
- Rolling Pin
- Round cookie cutter (3-inch works great)
- Slotted spoon
- Large pot
- Frying pan
- Clean kitchen towel
- Fork
Ingredients
- 2 cups gluten free flour blend
- 1 teaspoon xanthan gum if not in flour
- 1 teaspoon salt
- 1 large egg
- 1/2 cup sour cream
- 1/4 cup warm water
- 2 tablespoons butter melted
- 3 large potatoes peeled and cubed
- 1/2 cup shredded cheddar cheese
- 3 tablespoons butter
- Salt and pepper to taste
- Butter for frying
- Sour cream
- Chopped green onions
Instructions
- Boil potatoes in salted water until soft.
- This takes about 15 minutes.
- Drain the water completely.
- Mash potatoes until smooth and creamy.
- Add butter, cheese, salt, and pepper.
- Mix everything together well.
- Let the filling cool while making dough.
- Cool filling is easier to work with.
- Mix flour, xanthan gum, and salt together.
- Create a well in the center.
- Add egg, sour cream, and melted butter.
- Stir with a fork first.
- Add warm water slowly while mixing.
- Knead the dough gently for 2 minutes.
- The dough should feel soft but not sticky.
- Let it rest for 10 minutes covered.
- Dust your surface with gluten free flour.
- Roll dough to 1/8 inch thickness.
- Use your cookie cutter to make circles.
- You should get about 24 circles.
- Gather scraps and re-roll them carefully.
- Don’t overwork the dough or it gets tough.
- Place one tablespoon of filling in each circle.
- Don’t overfill or they will burst.
- Fold the circle in half carefully.
- Press edges together with your fingers.
- Use a fork to seal edges firmly.
- Make sure there are no gaps anywhere.
- Bring a large pot of salted water to boil.
- Add 6-8 perogies at a time.
- Don’t crowd the pot too much.
- They will sink first, then float up.
- Cook for 2 minutes after they float.
- Remove with a slotted spoon carefully.
- Place them on a clean towel.
- Heat butter in a frying pan.
- Add boiled perogies in a single layer.
- Fry for 2-3 minutes per side.
- They should turn golden and crispy.
- This step adds amazing flavor and texture.
- Serve immediately while hot and crispy.
Notes
- Use a good quality gluten free flour blend.
- I recommend ones with xanthan gum already added.
- Don’t skip the resting time for dough.
- This helps the dough become easier to roll.
- Keep the filling mixture fairly dry.
- Wet filling makes perogies soggy and hard to seal.
- Seal edges very well to prevent bursting.
- Test one perogy first before cooking them all.
- Freeze uncooked perogies on a baking sheet first.
- Then transfer to freezer bags for storage.
- They last up to 3 months frozen.
- Cook frozen perogies without thawing them first.
- Just add 1-2 extra minutes cooking time.

