

Want to turn your shower into a spa? Eucalyptus Shower Melts Recipe is your answer! These little wonders release amazing scents while you shower.
They help you breathe better and relax deeply. Learning how to make Eucalyptus Shower Melts is super easy. You only need a few simple ingredients.
The best part? They make perfect gifts for friends and family. These shower melts work like magic for congestion.
They also help you feel calm after long days. Making Ingredients for Eucalyptus Shower Melts at home saves money too. Let’s dive into this simple recipe together!
When I First Introduced to Eucalyptus Shower Melts
I discovered shower melts during a bad cold. My friend gave me one to try. I placed it on my shower floor. The steam activated the eucalyptus oil instantly.
Within minutes, I could breathe so much better! The refreshing scent cleared my stuffy nose completely. I felt like I was at a fancy spa.
That day changed my morning routine forever. Now I make batches every month. My whole family loves using them daily.
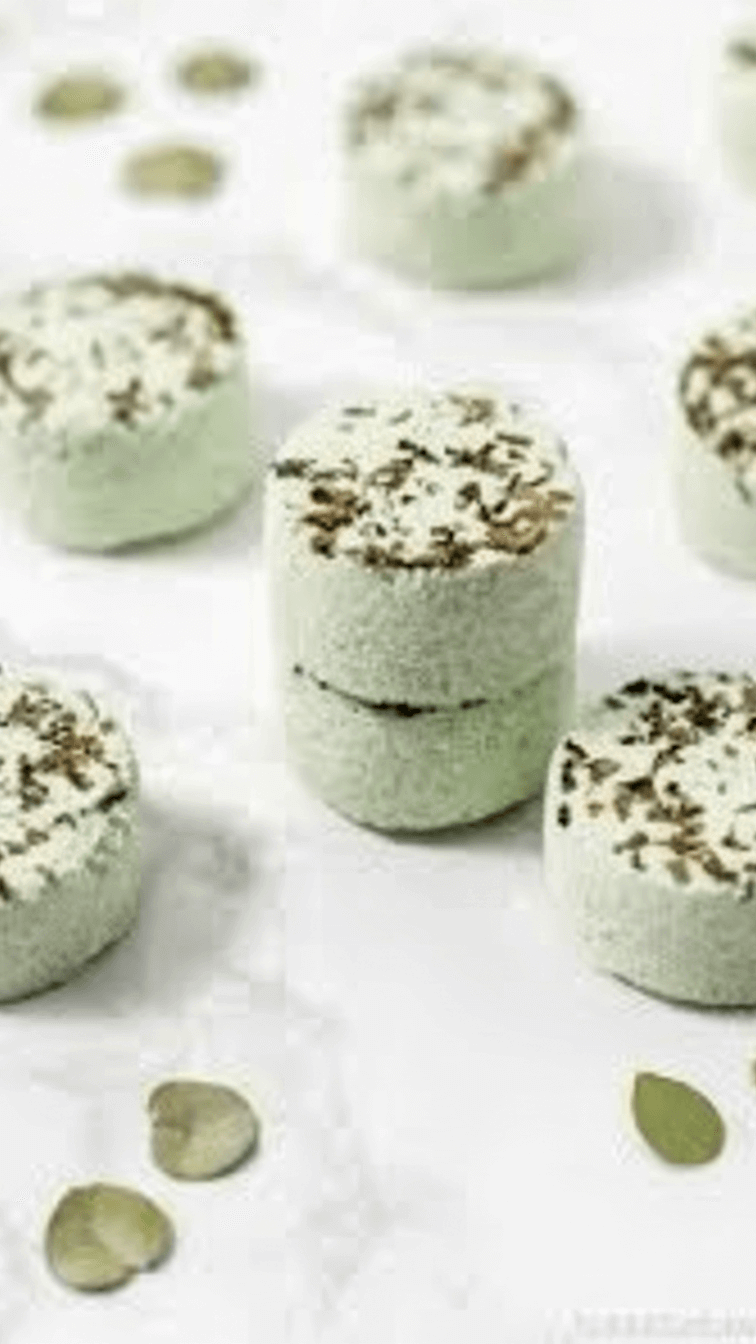
Equipment List
You need very basic kitchen tools for this.
- Mixing bowl
- Measuring cups
- Measuring spoons
- Silicone mold or ice cube tray
- Whisk or spoon
- Spray bottle with water
Ingredients You Need for Eucalyptus Shower Melts
- 2 cups baking soda
- 1 cup citric acid
- 1/2 cup cornstarch
- 3 tablespoons water
- 40 drops eucalyptus essential oil
- 10 drops peppermint essential oil (optional)
Step-by-Step Guide
- Combine baking soda, citric acid, and cornstarch together.
- Whisk them well in your mixing bowl.
- Make sure there are no lumps left.
- This creates the base for your melts.
- Pour in your eucalyptus essential oil drops.
- Add peppermint oil if you want extra freshness.
- Mix everything together thoroughly until oils distribute evenly.
- Spray water into the mixture little by little.
- Mix constantly while adding water.
- The mixture should feel like wet sand.
- Don’t add too much water at once.
- Press the mixture firmly into your molds.
- Pack it down really tight with your fingers.
- This helps them hold their shape perfectly.
- Fill each cavity to the top completely.
- Leave your molds in a dry spot.
- Wait 24 hours for them to harden completely.
- Don’t touch them too early or they’ll crumble.
- Patience is key for perfect melts!
- Pop out your finished shower melts carefully.
- Store them in an airtight container or jar.
- Keep them in a cool, dry place.
- They’ll last for several months when stored properly.
Tips to Make the Best Eucalyptus Shower Melts
- Use fresh baking soda for better fizzing action.
- Old baking soda doesn’t work as well.
- Add water very slowly to avoid fizzing early.
- Work quickly once water is added to mixture.
- Press mixture firmly into molds for solid melts.
- Try adding dried lavender for extra relaxation benefits.
- Use silicone molds for easiest removal without breaking.
- Make different shapes for fun gift-giving options.
- Label your container with the date you made them.
FAQs About Eucalyptus Shower Melts
Q: How long do shower melts last in storage?
A: They last about 3 to 4 months. Store them in airtight containers away from moisture.
Q: Can I use different essential oils instead?
A: Yes, you can try lavender, tea tree, or lemon. Choose oils you love and enjoy breathing in.
Q: Where should I place the melt in shower?
A: Put it on your shower floor away from drain. The water should splash it, not wash it away.
Q: Why did my shower melts crumble apart?
A: You probably didn’t add enough water to mixture. Or you didn’t pack them tightly into molds.
Q: Can kids use eucalyptus shower melts safely?
A: Yes, but use fewer drops of essential oil. Eucalyptus can be strong for young children’s noses.
Final Thoughts
Making your own Eucalyptus Shower Melts Recipe is incredibly rewarding. You get spa-quality results at home for pennies.
These melts transform ordinary showers into refreshing experiences. They help with breathing, stress relief, and relaxation.
Plus, they’re so fun and easy to make. Try making a batch this weekend for yourself. You’ll never want to buy commercial products again.
Your morning routine will never feel the same. Enjoy your new homemade spa treats every single day!
More Amazing Recipes
- 15 Mouthwatering Slider Recipes
- 14+ Dutch Oven Camping Recipes
- 14+ Budget Friendly Chicken Dinner Recipes
- 14 Healthy Winter Ground Beef Recipes
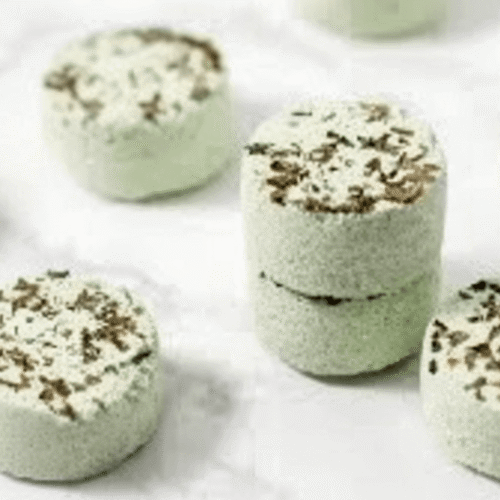
Eucalyptus Shower Melts Recipe
Equipment
- Mixing Bowl
- Measuring Cups
- Silicone mold or ice cube tray
- Measuring Spoons
- Whisk or spoon
- Spray bottle with water
Ingredients
- 2 cups baking soda
- 1 cup citric acid
- 1/2 cup cornstarch
- 3 tablespoons water
- 40 drops eucalyptus essential oil
- 10 drops peppermint essential oil optional
Instructions
- Combine baking soda, citric acid, and cornstarch together.
- Whisk them well in your mixing bowl.
- Make sure there are no lumps left.
- This creates the base for your melts.
- Pour in your eucalyptus essential oil drops.
- Add peppermint oil if you want extra freshness.
- Mix everything together thoroughly until oils distribute evenly.
- Spray water into the mixture little by little.
- Mix constantly while adding water.
- The mixture should feel like wet sand.
- Don’t add too much water at once.
- Press the mixture firmly into your molds.
- Pack it down really tight with your fingers.
- This helps them hold their shape perfectly.
- Fill each cavity to the top completely.
- Leave your molds in a dry spot.
- Wait 24 hours for them to harden completely.
- Don’t touch them too early or they’ll crumble.
- Patience is key for perfect melts!
- Pop out your finished shower melts carefully.
- Store them in an airtight container or jar.
- Keep them in a cool, dry place.
- They’ll last for several months when stored properly.
Notes
- Use fresh baking soda for better fizzing action.
- Old baking soda doesn’t work as well.
- Add water very slowly to avoid fizzing early.
- Work quickly once water is added to mixture.
- Press mixture firmly into molds for solid melts.
- Try adding dried lavender for extra relaxation benefits.
- Use silicone molds for easiest removal without breaking.
- Make different shapes for fun gift-giving options.
- Label your container with the date you made them.

