Vanilla and Lavender Soap Recipe
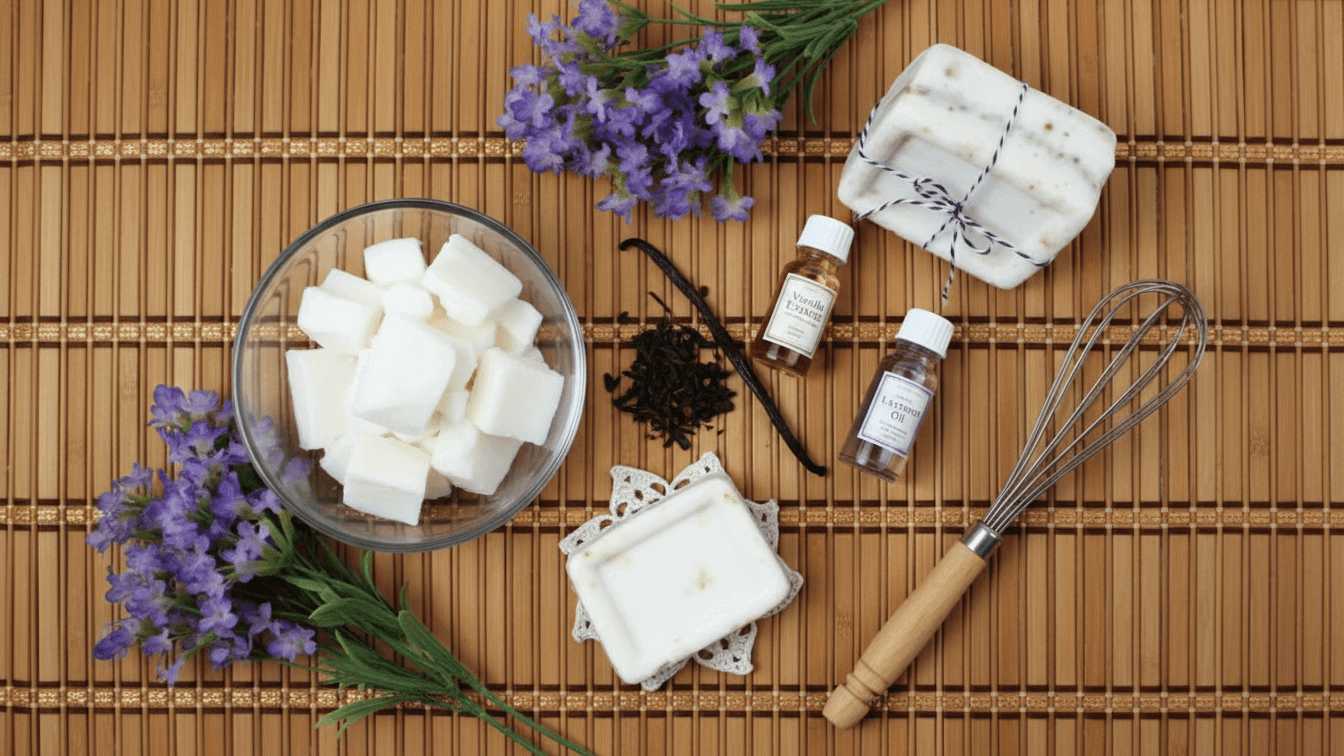
Making soap at home is fun and easy. This Vanilla and Lavender Soap Recipe creates beautiful bars.
They smell amazing and feel gentle on skin. You can make this soap in your kitchen. The process is simple and safe.
How to make Vanilla and Lavender Soap is easier than you think. This recipe combines calming lavender with sweet vanilla.
The result is a luxurious homemade soap. You’ll love giving these as gifts. Your family will enjoy using them daily.
The Ingredients for Vanilla and Lavender Soap are easy to find. Let’s start making this wonderful soap together.
When I First Discovered Vanilla and Lavender Soap
I first made this soap three years ago. My friend gave me lavender from her garden. I wanted to use it in something special.
I found a simple soap recipe online. I added vanilla for extra sweetness. The combination was absolutely perfect.
My whole house smelled like a spa. Everyone who tried it loved the soap. Now I make it every few months. It’s become my signature homemade gift.
Equipment List
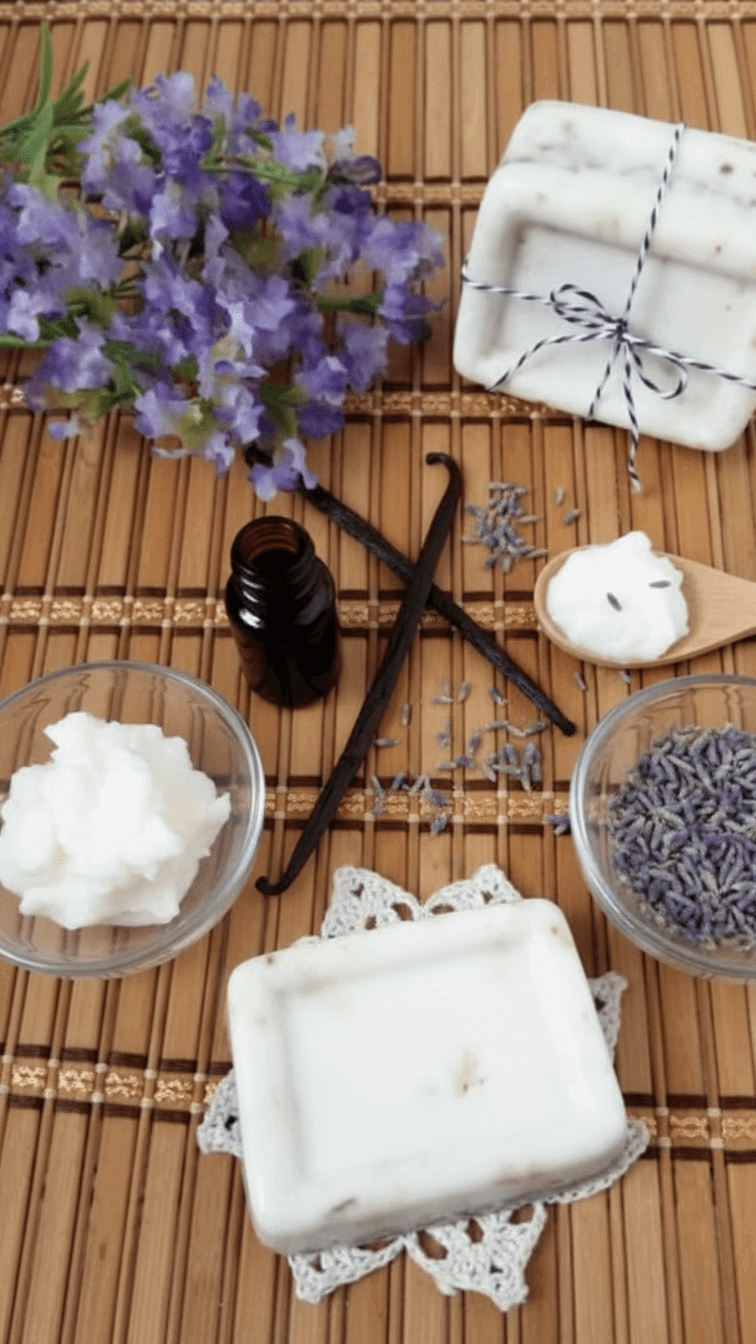
- Large stainless steel pot
- Wooden spoon
- Digital thermometer
- Soap mold or box
- Safety gloves and goggles
- Immersion blender
- Measuring cups and spoons
- Paper towels
Ingredients You Need for Vanilla and Lavender Soap
- 16 oz coconut oil
- 16 oz olive oil
- 13 oz palm oil
- 6.7 oz lye (sodium hydroxide)
- 16 oz distilled water
- 2 tablespoons dried lavender buds
- 1 tablespoon vanilla extract
- 30 drops lavender essential oil
- Purple soap colorant (optional)
Step-by-Step Guide
- Put on your gloves and goggles first.
- Set up in a well-ventilated area.
- Cover your counter with newspaper.
- Have all ingredients measured and ready.
- Safety comes first when making soap.
- Slowly pour lye into distilled water.
- Never pour water into lye.
- Stir gently until lye dissolves completely.
- The mixture will get very hot.
- Let it cool to 100-110°F.
- This takes about 30-40 minutes.
- Melt coconut oil and palm oil together.
- Add olive oil to the mixture.
- Heat until all oils reach 100-110°F.
- Both lye and oils should match temperature.
- Slowly pour lye solution into oils.
- Stir with immersion blender carefully.
- Blend until mixture reaches trace.
- Trace looks like thin pudding.
- This takes about 5-10 minutes.
- Stir in vanilla extract quickly.
- Add lavender essential oil next.
- Mix in dried lavender buds gently.
- Add purple colorant if you want.
- Blend everything together well.
- Pour mixture into your soap mold.
- Tap mold to remove air bubbles.
- Cover with a towel or cardboard.
- Let soap sit for 24-48 hours.
- Cut into bars after unmolding.
- Cure bars for 4-6 weeks minimum.
Tips to Make the Best Vanilla and Lavender Soap
- Always use fresh, high-quality essential oils.
- They give the strongest scent.
- Measure lye very carefully for safety.
- Use distilled water, not tap water.
- Keep your workspace clean and organized.
- Don’t rush the curing process.
- Patience makes better soap.
- Store finished bars in cool, dry places.
- Wrap them in paper, not plastic.
- Label each batch with the date.
- This helps you track curing time.
FAQs about Vanilla and Lavender Soap
Q: Can I use fresh lavender instead?
A: Dried lavender works better in soap. Fresh lavender contains too much moisture.
Q: Is this soap safe for sensitive skin?
A: Yes, this gentle recipe suits most skin. Always test a small area first.
Q: How long does homemade soap last?
A: Properly cured soap lasts one year. Store it in a dry place.
Q: Can I skip the vanilla extract?
A: Yes, but vanilla adds wonderful sweetness. The soap will still smell nice.
Q: Do I need special molds?
A: No, use any silicone or cardboard. Even a shoebox lined with paper works.
Final Thoughts
This Vanilla and Lavender Soap Recipe is truly rewarding. You create something beautiful and useful. The process becomes easier each time.
Your handmade soap feels special and personal. Friends and family will request more bars. Start with one batch to learn.
Soon you’ll be a soap-making expert. Enjoy the wonderful scents while you create. Happy soap making!
More Amazing Recipes
- 15 Mouthwatering Slider Recipes
- 14+ Dutch Oven Camping Recipes
- 14+ Budget Friendly Chicken Dinner Recipes
- 14 Healthy Winter Ground Beef Recipes
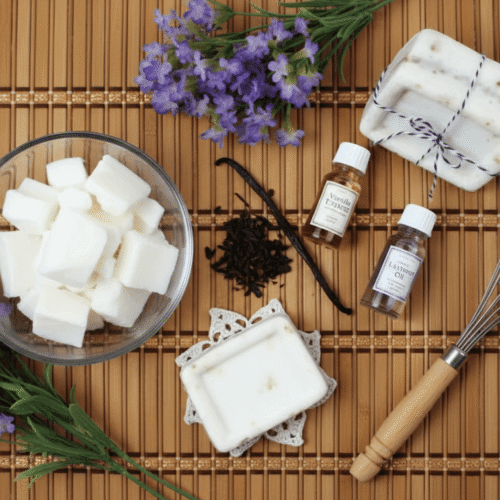
Vanilla and Lavender Soap Recipe
Equipment
- Large stainless steel pot
- Wooden Spoon
- Digital thermometer
- Soap mold or box
- Safety gloves and goggles
- Immersion blender
- Measuring cups and spoons
- Paper towels
Ingredients
- 16 oz coconut oil
- 16 oz olive oil
- 13 oz palm oil
- 6.7 oz lye sodium hydroxide
- 16 oz distilled water
- 2 tablespoons dried lavender buds
- 1 tablespoon vanilla extract
- 30 drops lavender essential oil
- Purple soap colorant optional
Instructions
- Put on your gloves and goggles first.
- Set up in a well-ventilated area.
- Cover your counter with newspaper.
- Have all ingredients measured and ready.
- Safety comes first when making soap.
- Slowly pour lye into distilled water.
- Never pour water into lye.
- Stir gently until lye dissolves completely.
- The mixture will get very hot.
- Let it cool to 100-110°F.
- This takes about 30-40 minutes.
- Melt coconut oil and palm oil together.
- Add olive oil to the mixture.
- Heat until all oils reach 100-110°F.
- Both lye and oils should match temperature.
- Slowly pour lye solution into oils.
- Stir with immersion blender carefully.
- Blend until mixture reaches trace.
- Trace looks like thin pudding.
- This takes about 5-10 minutes.
- Stir in vanilla extract quickly.
- Add lavender essential oil next.
- Mix in dried lavender buds gently.
- Add purple colorant if you want.
- Blend everything together well.
- Pour mixture into your soap mold.
- Tap mold to remove air bubbles.
- Cover with a towel or cardboard.
- Let soap sit for 24-48 hours.
- Cut into bars after unmolding.
- Cure bars for 4-6 weeks minimum.
Notes
- Always use fresh, high-quality essential oils.
- They give the strongest scent.
- Measure lye very carefully for safety.
- Use distilled water, not tap water.
- Keep your workspace clean and organized.
- Don’t rush the curing process.
- Patience makes better soap.
- Store finished bars in cool, dry places.
- Wrap them in paper, not plastic.
- Label each batch with the date.
- This helps you track curing time.